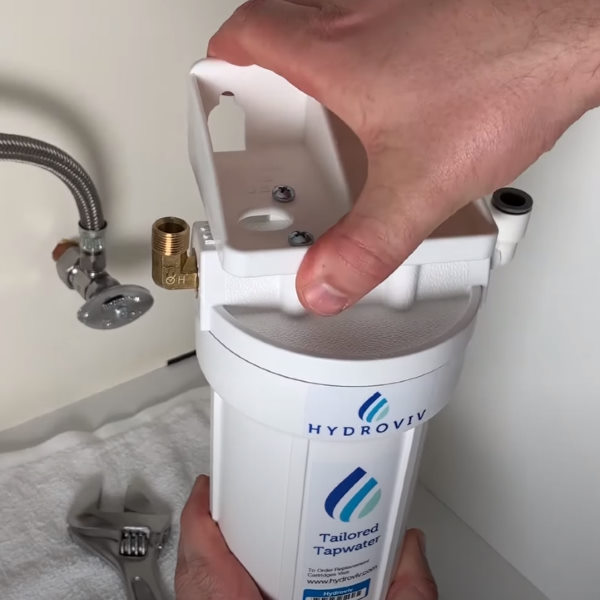
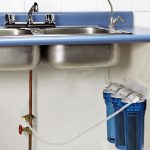
You’ve decided to take the leap and install your water filtration system under the kitchen sink. Good for you!
Even if you’ve done it before and this isn’t your first rodeo, it’s still a good idea to brush up on the basics to ensure a successful outcome.
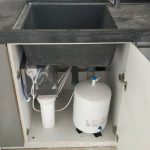
Under sink water filter installation isn’t rocket science, but it is important to pay attention to the details.
Plumbing, especially plumbing in tight, confined spaces, can be trying at best.
It may seem crazy to mention it, but make sure you’re in the right frame of mind before diving in.
Careful, measured steps contained in the installation package should be followed.
Get Ready To Rock
Preparation is a key component of a successful and leak-free water filter kit installation. This step is also a good idea to avoid confusion and possible accidents.
There are a few different things to prepare before placing yours under sink water filter system.
Those steps should include:
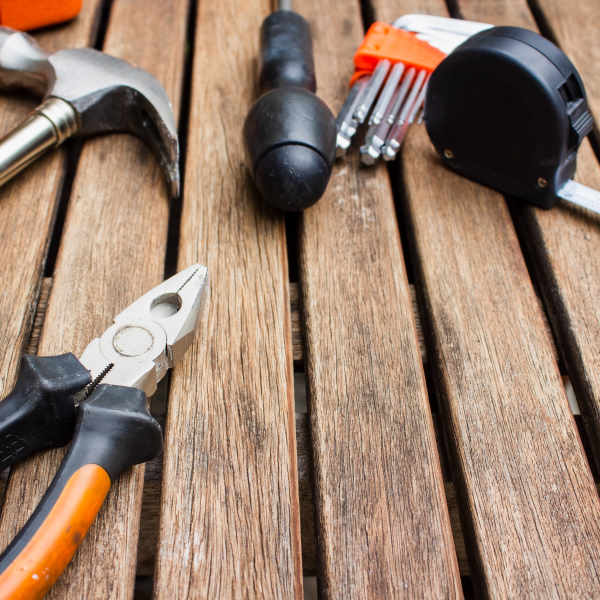
Gathering all the needed tools like screwdrivers, drills, pliers, adjustable wrench, and a bucket. Even if the installation kit claims to have all the tools needed, it’s a good idea to have some extra help at hand just in case.
Many installation kits come with hardware for attaching to the household water system, however, not every home is built to the same specifications.
A quick run to the hardware store to gather up a few extra adapters, worm clamps, some plumber’s putty, Teflon tape, and a few rubber gaskets might just save a quick run to the hardware store in the middle of the installation.
Giving yourself enough room to operate is critical when the space is extremely limited. Remember, this isn’t any cabinet, it’s the sink cabinet and that means there’s zero headroom to work with.
Smart installers know the dimensions of the water filter system equipment before they purchase it. Smarter installers know the inner dimensions of the kitchen sink cabinet and exactly where the system will fit.
Installing anything inside a cabinet is going to be hard enough. Why not make sure you can see what you’re doing as best as possible?
Flashlights are okay, but they can run out of power and leave you in the dark. It’s better to have light from a plugged-in work lamp that won’t diminish over time.
You never know how long it will take to get the job done and you don’t want to run out of batteries at a bad time during the installation.
This is the one most folks forget about but that they remember as soon as they get started. The floor is hard and you’re going to be rolling around on it for a while.
Why not give yourself a break and make the surface as comfortable as possible for the duration?

And don’t forget the edge of the cabinet floor is about 3 inches up off the floor.
You’re going to be dealing with that as well so don’t skimp on the padding there either.
Everyone knows reading the installation instructions is about as much fun as going to the all-night dentist. But you’ve got to do it to ensure you know how the whole project will play out.
It’s easier to catch potential problems ahead of time rather than in real-time when options may be much more limited.
Issues with connectors, adapters, length of water supply lines, and other important data can be more easily resolved by conducting a walk-through of the installation.
Think of it as an insurance policy to make sure problems are minimized and success is maximized.
This is a plumbing exercise and exercises in plumbing take patience and perseverance in most cases. Even qualified professional journeyman plumbers get frustrated doing this kind of work.
Unless you’re a DIY expert with years of experience under your tool belt, it’s a good idea to start the job early in the day to give yourself plenty of time to get it done.
The right frame of mind will help the process go smoother, faster, and more satisfactorily.
If you have an internet connection and can go online, it’s always a good idea to check and see if your water filter installation kit has a video posted online.

Many manufacturers provide online instructions with videos to help consumers with the installation process.
It’s a great way to also find videos of DIY installers putting systems in. The tips, tricks, techniques, and guidance can be extremely enlightening and useful.
Just Do It
Every under sink water filter installation kit comes with a set of instructions specifically designed for that product.
It would be impossible to include every step needed for the vast number of under sink water filter systems available on the market.
However, some basic steps need to be followed.
Listed below are the general steps included in installing an under sink water filtration system:
- Turn off the cold water line under the sink
- Cold is normally the faucet valve on the right side as you look at it
- Open the cold water faucet to release any water in the system and eliminate any water pressure in the line
- Place a bucket under the cold water line connection beneath the sink to catch the water that drops from the line as it is disconnected
- Unfasten the cold water line using an adjustable wrench
- Connect adapter for water filter system connection to the cold water line
- Connect filter system input water line to the adapter on one end and the water filter on the other end of the line
- Connect the input line, with the adapter in place, to the cold water shut-off valve
- Slowly turn the cold water valve open and check the system for leaks before turning it on fully
- Run cold water for 5 to 10-minute intervals according to installation kit instructions to activate the filters
- Enjoy great-tasting, filtered water!
Lots of Folks Do It – Why Not You?
Granted, not everyone can handle a plumbing project like Bob Vila on This Old House.
However, with upgrades in tools, equipment, and methods, the process of installing an under sink water filtration system is well within most people’s skill set.
The important thing to remember is to take your time, think it through, and do a little planning before you get started.
The tools and hardware involved aren’t all that complex or difficult to work with and the whole effort is amply supported with online videos, chats with manufacturer’s customer service support teams, and well-illustrated instructions.
Even if this your first DIY project, it’s worth doing because of how much better life will be with clean, enjoyable, filtered water available 24/7/365.
📌 Pin Me for Later Reading! 📌
What other home improvement projects have you done?


Be the first to comment